Alright!!!
Teaching art for two years I had to come up with all kinds of projects. I really loved working with the younger kids because they were so much more enthused about the activities. So one project we did was a watercolor book where they had to try out all the different water color techniques. Here are 3 techniques that I find, kids really like.
Watercolor
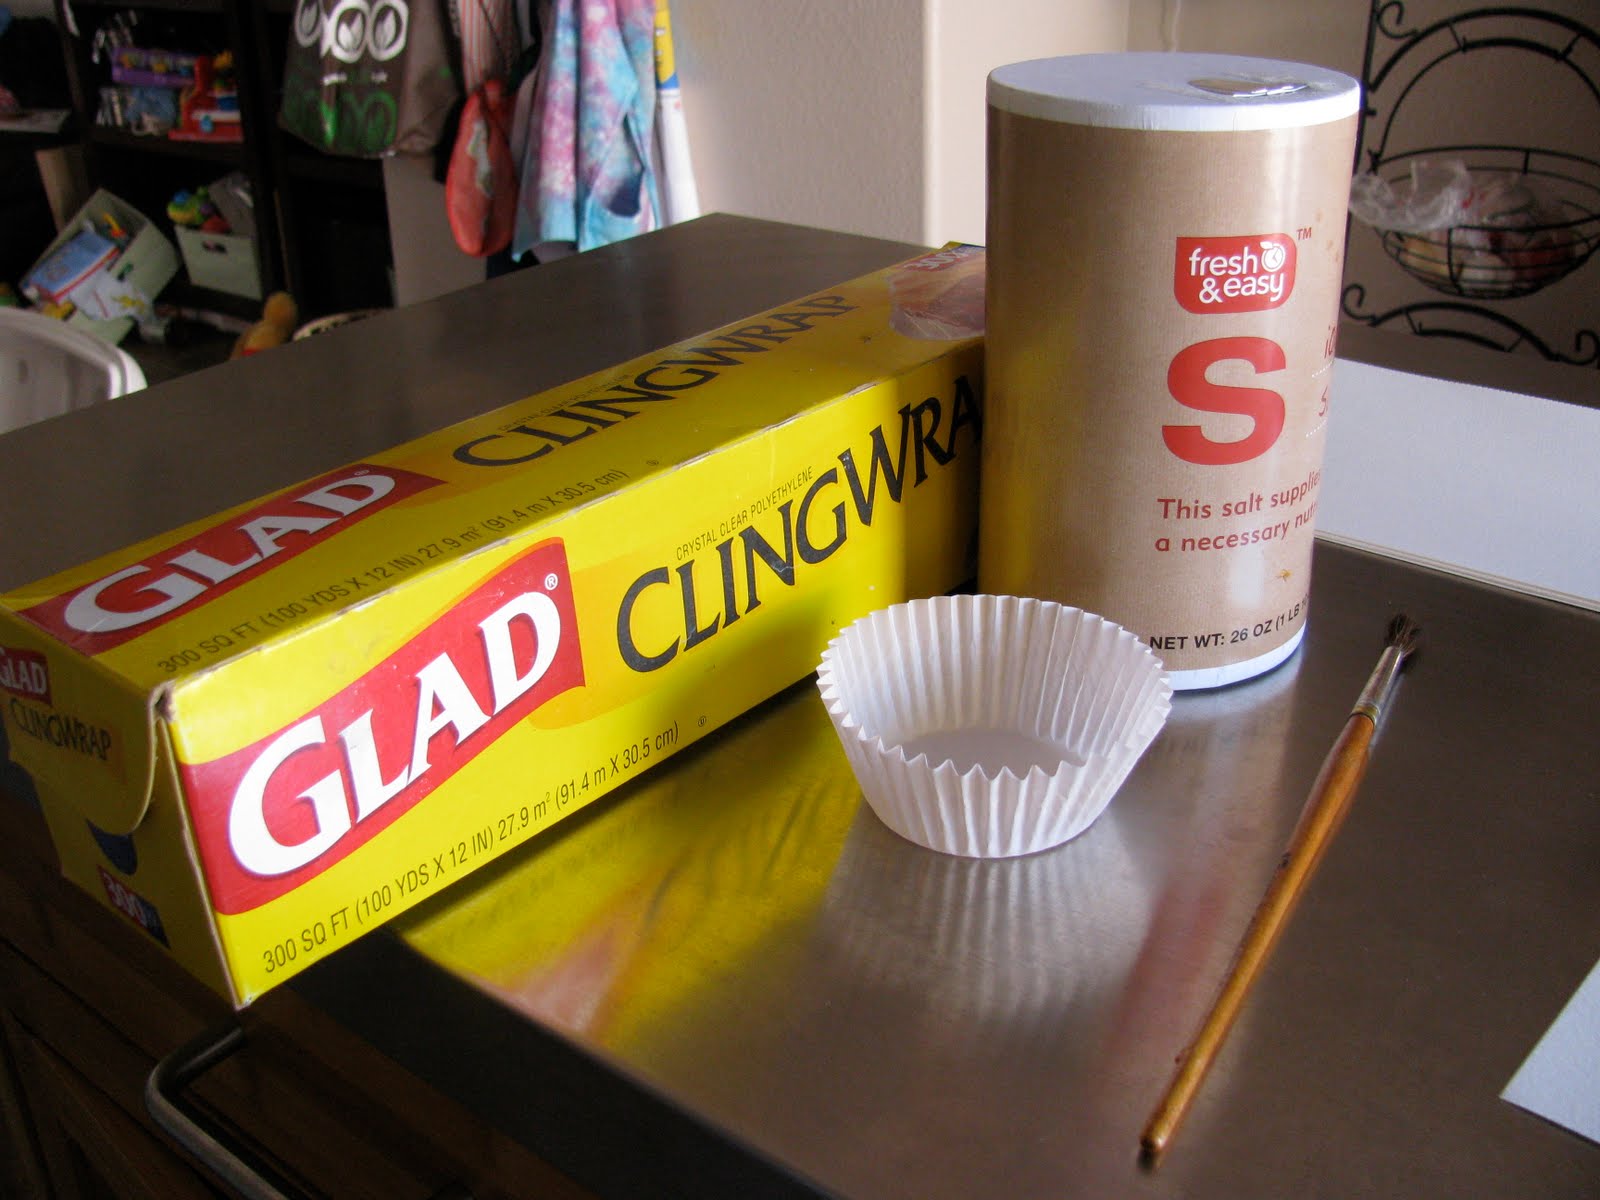
Supplies:
Brush
Watercolor set
Watercolor paper- this makes a difference, if you just use regular paper it will break down and squish all over the place.
Salt-regular salt and rock salt work
Paper towels
Masking tape- just a little bit to hold down the corners of your paper
Plastic wrap
Water Cup
Technique 1- Plastic Wrap
Ok- Tape your paper down on the corners, you don't need very much tape, just a little.
First we are going to do a wash on our paper. A wash is a smooth layer of either water or water color. We are going to do a wash of water. You want to dip your brush in the water and smooth water all over your paper till you have a nice layer.
Now you are going to pick a couple colors. You want to stick with colors that are friends with each other. Like Red and blue make purple so they are friends. We don't want to use enemies, those are yellow with purple, blue with orange, or green with red. Those colors when you mix them, make brown which isn't very fun on your paper.
So I started off with red. Then I added blue. Here are a couple water color tricks.
The more water you add the lighter your color. So if you want a nice strong red you just add a little water to your color in the box other wise if you keep dipping your brush in water and then dipping it in the color it will come out really light.
When you already have a layer of water on your paper your colors are going to mix and bleed into each other which can be a lot of fun because you can't control it.
So once you have a lot of color on your paper then we need to pull out our plastic wrap and get a piece that is a little bigger than your paper.
Lay the plastic wrap on your paper.
With a pinching motion you want to lightly grab the plastic wrap, pull up in the air a little and touch down so you have some air underneath the plastic wrap but it also touches the paper. Do this all over.
Now you need to leave that to dry, you can put it outside if it isn't windy.
Make sure it is really dry, and then you can pull off the plastic wrap.
This is your finished product!
Technique 2- Salt
Tape a new piece of paper down.
Again, put down a layer of water.
Pick a couple friendly colors and do some swirls, dots, and lines. Make a cool abstract composition. Abstract is something that doesn't look like anything real. Composition is the objects, colors, and movement that is your drawing.
Once you have your whole paper filled up (no white areas) then you want to pull out your salt. You can use rock salt or regular salt or a little of both. Sprinkle it on your paper, not all over, but in spots. The salt will suck up your water color and leave a crystalized effect that is really cool.
Then leave it to dry......
Ta Da!!!
Fun huh?
Technique 3-Crumpled Paper Towel
Make a wash of water on your paper and choose some bright colors to add in.
Now, Crumple up a paper towel so you have some nice corners and bits poking out. If you have one of those natural sponges that would work too.
Then dab your paper towel onto your picture.
Keep doing this until it looks the way you want.
Ta Da!!!!
I love to combine these techniques into pictures. An example would be a blue sky and you use the crumples paper towel to look like clouds. Or you could do an outer space picture and add the salt to really give it that feeling. You could always do a background like this, modge podge over it and then add some images on top. Have Fun!!